BS BS BS
FDL BS
 THE BUILDING THE ROWSWELL HALL EXTENSION
BS BS BS
BS

In this picture Dave of the Venture scouts is hammering a bit of plasterboard to the rear wall. The wall panels were designed to be exactly the same width as a piece of plasterboard. This kept cutting down to a minimum.

Starting at the bottom we just put the plasterboard in place and nail it up. The top bits need trimming to account for the sloping roof.

The ceiling bits of plasterboard are a little trickier. Some needed holes cutting for lighting wires.

Dave on the wall.
Geoff Hutton Taping the ceiling.

The last roof panel to be fitted was signed by all those involved in the project on the reverse side.

In this picture taken after all plasterbording was complete paste is being applied to the cracks. Then strips of paper are stuck over to cover and protect the gaps.

By now the internal lighting had been installed.

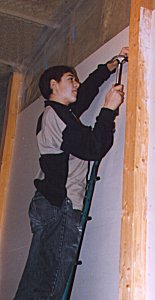
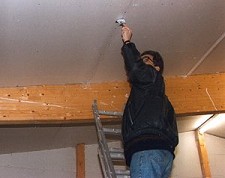
In the picture on the right all the plasterboard Joins are taped and David is about to explain how we have managed to construct a new building and have so much wood left over. On the right the garage doors have been completed.

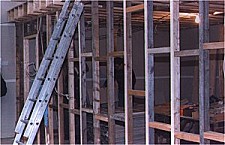
The main hall was now very much in use so we couldn't use it to store supplied of wood. So we were working around them in the new building.

If we thought all the construction was over, we were very much mistaken.

What's this for?
The internal wall and loft.

Internal walls needed to be constructed.  These were built in place to a similar design as the external walls. Wooden frames faced with plasterboard.

The main wall that runs the width of the building was built first and the upper floor laid on it.

This is a similar view of the same wall once the plasterboard had been put on. Here Malcolm and Tony are affixing the tape that covers the cracks.

Meanwhile work was commencing on fixing the internal lights in the store rooms.

Taping the new wall.
BS BS BS
FDL BS
BS BS BS
BS