BS BS BS
FDL BS
 THE BUILDING THE ROWSWELL HALL EXTENSION
BS BS BS
BS

After a rough layer of concrete was laid, sand was put down and finally the aesthetically pleasing bricks could be laid.

 This was a time consuming and skilled job that was largely completed by Malcolm by all accounts.  The bricks lining either side were laid first and here Malcolm can be seen filling in the main driveway on June 29th 1995.

As with the previous hall 25 years before it, our foundations were to be dedicated and blessed by the vicar of St Michaels Church.

GSL
Malcolm laying bricks on the drive.
dedication
Dedications what you need.

The plaque reads:


This plaque was unveiled
By
REV EDWARD PILKINGTON
The Vicar of St. Michael's & All Angels
on
9th July 1995
To commemorate laying the foundation of this extension

The plaque now resides on the inside of the garage doors in the new hall.

The main walls were built out of wooden frames.  The picture on the right shows Craig Denton (an ex-venture) and Tony making fine adjustments or possibly even constructing one of the first wall panels.

The first bit of the wall to be constructed was the back wall. After each panel had been put together they were stacked under polythene on the slab.  Some completed panels can just be seen in the picture above.

In the picture on the right a rare appearance of Chris Smithers can be seen.

TJ CD
Tony and Craig Denton build a wall.
NOGGIN SHOP
Geoff Hutton in Mr. Weller's Noggin shop

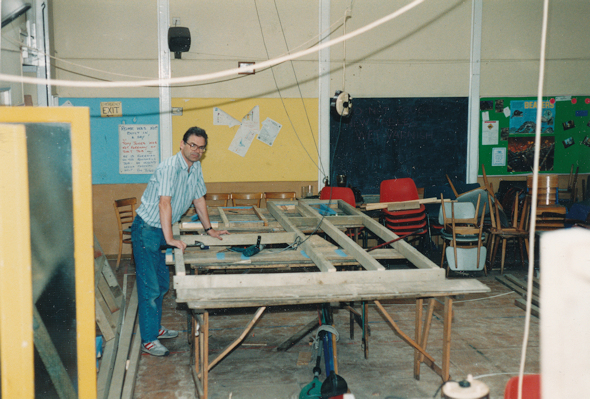
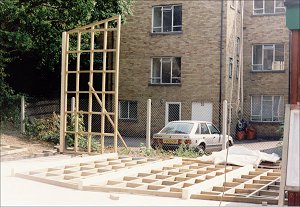
To make the manufacture of wall panels easier, David W constructed some jigs.

For several weeks the Rowswell hall became affectionately known as Mr. Weller's noggin shop, a noggin being one of the small bracing bits of wood used in the timber frames.

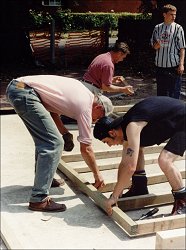
David seemed to be very good at motivating the young and lazy Venture scouts to build wall panels whilst the more motivated worked outside on other tasks.

The trickiest panels to build were those containing doors or windows.

Between each of the wall panels stood heavy plywood upright pillars. The first one can be seen in the picture to the right. It is attached to the left of the first panel.

The rest of the back wall three of the remaining uprights can be seen laid out on the floor.

st wall
The first wall panel goes up.
BS BS BS
FDL BS
BS BS BS
BS